This post may contain affiliate links. Please read our disclosure policy.
Cacio e Pepe Creamed Corn is a summer-fresh spin on the classic Roman pasta dish. This 30 minute creamed corn recipe is the perfect side dish for all of your summer dining needs.
Why You’ll Love this Creamed Corn Recipe
My forever favorite Italian pasta dish is Cacio e Pepe. In fact, last spring when I visited Italy, I don’t think I went more than 36 hours without ordering it.
In case you’re not familiar, Cacio e Pepe is a classic Roman pasta dish consisting of Pecorino Romano cheese, black pepper, and spaghetti. The sauce is made from an emulsion of starchy pasta cooking water and cheese, so it’s extremely simple, yet complex in flavor.
This creamed corn recipe emulates the simplicity and downright cheesy deliciousness of Cacio e Pepe. It’s the perfect summer side dish to serve alongside your protein of choice. For example, burgers, BBQ chicken, or really anything hot off the grill. Plus, you can either fresh, canned, or frozen/thawed corn!
Recipe Ingredients:

- Corn: You need four cups of corn kernels, however you can choose to use fresh, canned, or frozen. During peak summer months, you really can’t beat fresh corn, however the latter two are super convenient.
- Pecorino Romano: The classic cheese in Cacio e Pepe, Pecorino is a hard, salty Italian cheese made of sheep’s milk. You can find Pecorino Romano in most specialty cheese sections of well-stocked grocery stores.
- Black pepper: I highly recommend freshly cracked black pepper for this dish–It adds so much more dimension and heat. You need 1 1/2 tsp., however you can choose to add more if you’re a pepper fanatic like me.
- Aromatics: Yellow onion and fresh garlic form the aromatic foundation of this dish. They also add more savory notes to round out the sweetness of the corn.
- Heavy cream: A little heavy cream goes a long way in this recipe. However, if you prefer, you can use canned full-fat coconut milk instead.
Step-by-Step Instructions:
Step 1: Sauté the Onion
Start by melting some butter in a large skillet over medium-high heat. Next, add the minced sweet onion, and cook until softened, about 5 minutes.
Step 2: Cook the Corn
Next, stir in the garlic and fresh corn kernels, and cook for about 3 minutes, until the garlic is aromatic. Pour in the vegetable broth (or water), cover, and let the mixture simmer for about 10 minutes.
Step 3: Blend Half the Corn Mixture
Transfer half of the corn mixture to a blender, along with 2 Tbsp. of heavy cream. Blend until smooth, and pour the pureed corn mixture back into the skillet. 
Step 4: Simmer Cacio e Pepe Creamed Corn
Add the remaining 2 Tbsp heavy cream, along with the salt, pepper, and Pecorino Romano cheese. Cook over medium heat until thickened, about 3 more minutes. Finally, garnish with basil, if desired, and serve!

FAQs and Expert Tips:
Can you Eat Creamed Corn by Itself?
How do You Thicken Creamed Corn:
Can you Freeze Creamed Corn?

More Recipes with Corn:
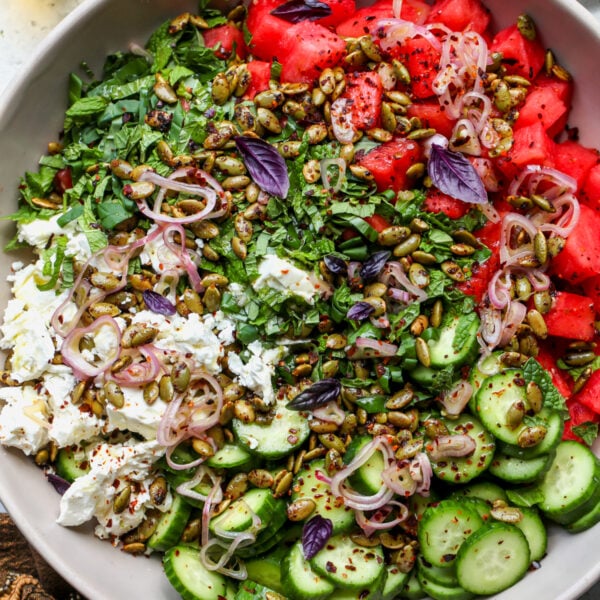
20 Minute Summer Squash and Corn Salad
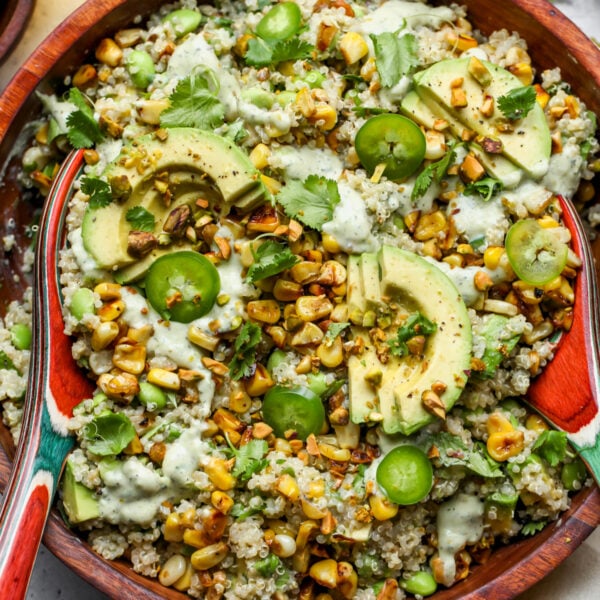
Elote Corn Quesadillas with Avocado Cream
One Pan Creamed Corn Orzo with Shrimp

Cacio e Pepe Creamed Corn
Equipment
- Small blender
- Large skillet
Ingredients
- 2 Tbsp. unsalted butter
- 1/2 cup minced yellow onion
- 2 garlic cloves, minced
- 4 cups fresh corn kernels sub canned or frozen/thawed
- 2/3 cup vegetable broth
- 4 Tbsp. heavy cream, divided sub canned full-fat coconut milk
- 1 1/2 tsp. freshly cracked black pepper
- 1/2 tsp. kosher salt
- 1/2 cup grated Pecorino Romano cheese
- Fresh basil for garnish, optional
Instructions
- Melt butter in a large skillet over medium-high; add minced onion, and cook until softened, about 5 minutes. Stir in garlic and fresh corn kernels; cook 3 minutes, until garlic is aromatic.
- Add vegetable broth, cover, and cook 10 minutes. Transfer half of corn mixture to a blender and add 2 Tbsp. heavy cream. Blend on high until smooth, and transfer pureed corn mixture back to skillet. Stir in remaining 2 Tbsp. heavy cream, black pepper, salt, and cheese. Let simmer 5 minutes, until thickened. Garnish with fresh basil, if desired.
Notes
Nutrition
I calculate these values by hand to ensure accuracy, however expect up to a 10% variable depending on food brands.

This is insanely good. My husband looooves creamed corn and this is the next level!
This was so rice and fantastic! I typically find Corn dishes to be too sweet, and was pleasantly surprised by how savory this was.
I made a single recipe a week ago with fresh corn and family cleaned it out in no time. I made a double batch again this past weekend and there is hardly any leftovers for the week. I translated the recipe for my mother who lives in Poland and she is having it for lunch today! An absolutely spectacular recipe! And this is coming from a person very skeptical about corn in the first place. Thank you, Jamie.
Well this is genius!! Can’t wait to try!